Upload Data
Overview
Use the upload dialog to add hyperspectral imagery and supporting files to Clarity. You do not need to separate every file by hand before uploading. Select or drag in the relevant folder, or select the files that came with the image download, and Clarity will group the files it recognizes.
Upload hyperspectral data
-
To upload data, click the
Newbutton, then selectUpload data. This will open a dialog where you can select files or folders.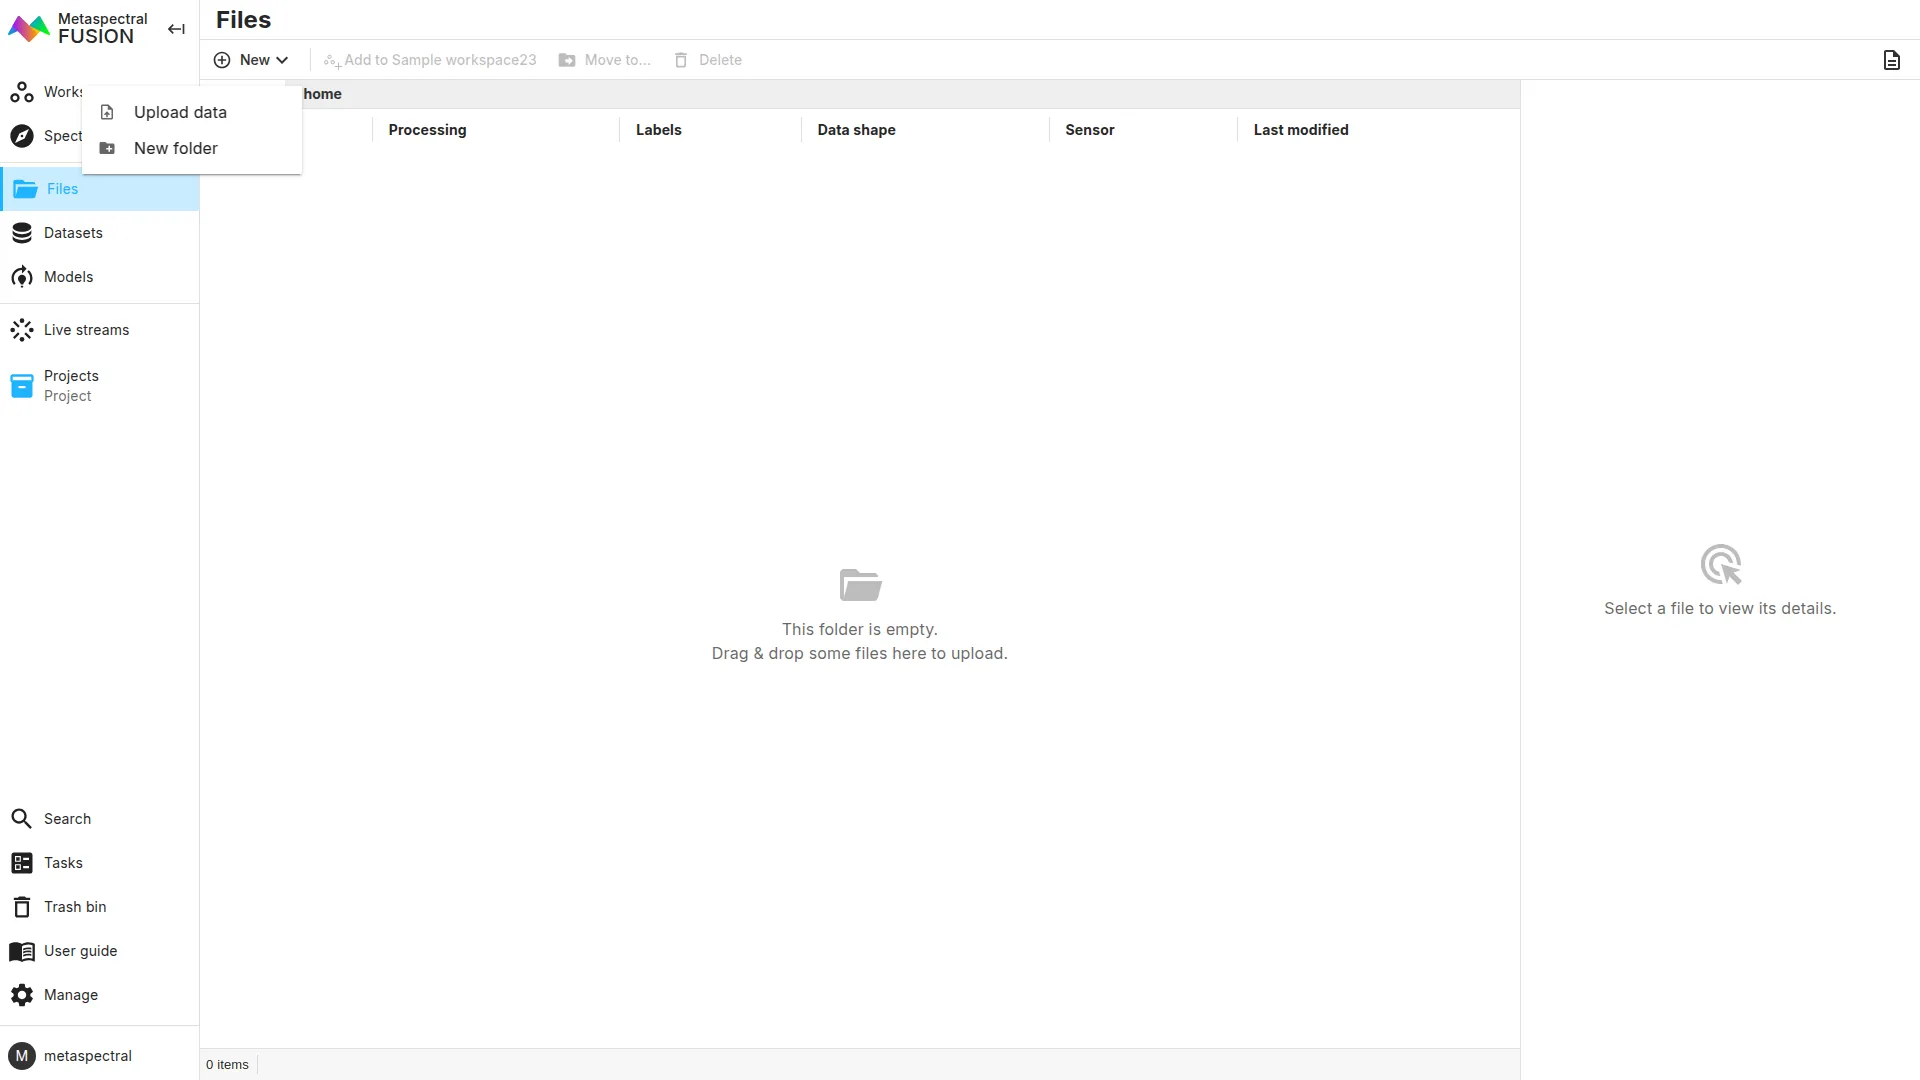
-
Drag and drop the relevant folder, or click the upload area and select the files that came with your image download.
-
Review the import tree. Clarity groups recognized files into imports and marks files that are not needed or cannot be matched.
-
Click
Uploadto start the process. If it is grayed out, review the messages in the import tree. A required file may be missing, or the selected files may not match a supported import format.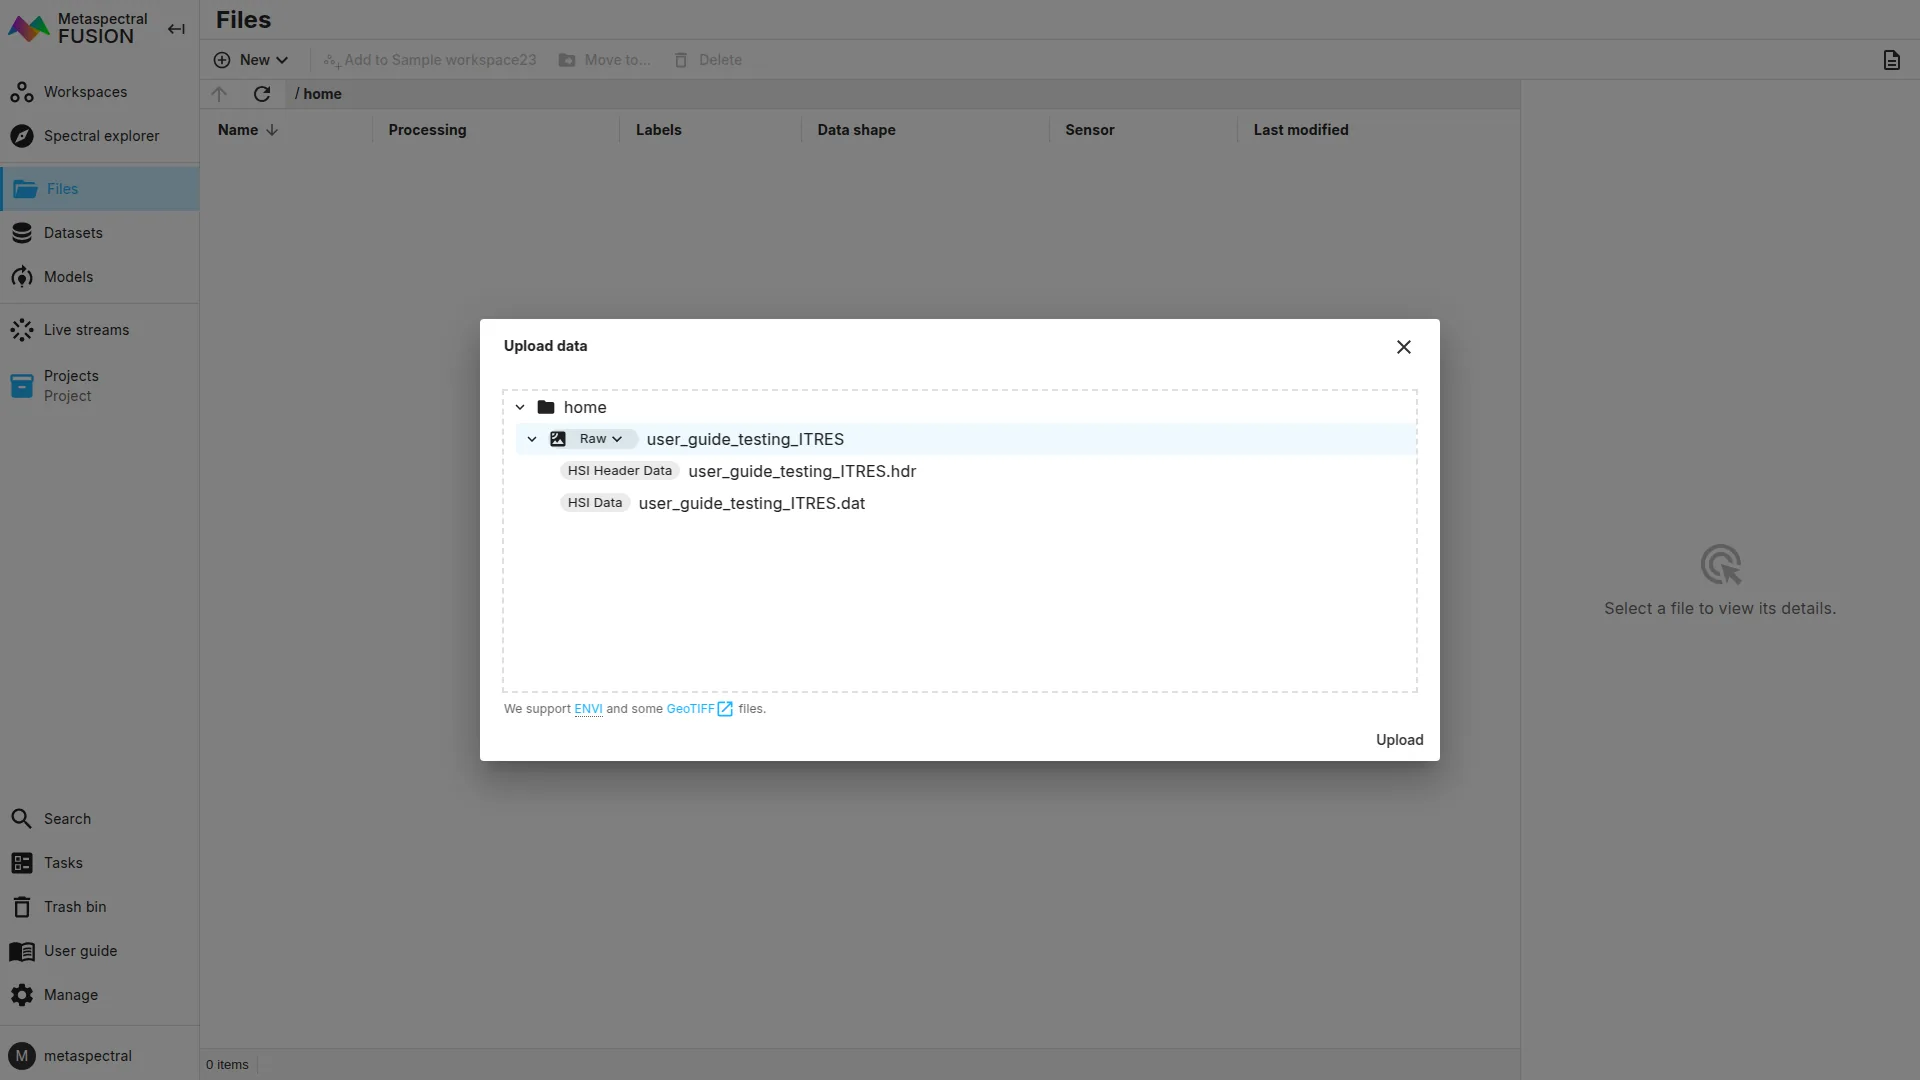
-
Once uploaded, you will see the file in the Files page.
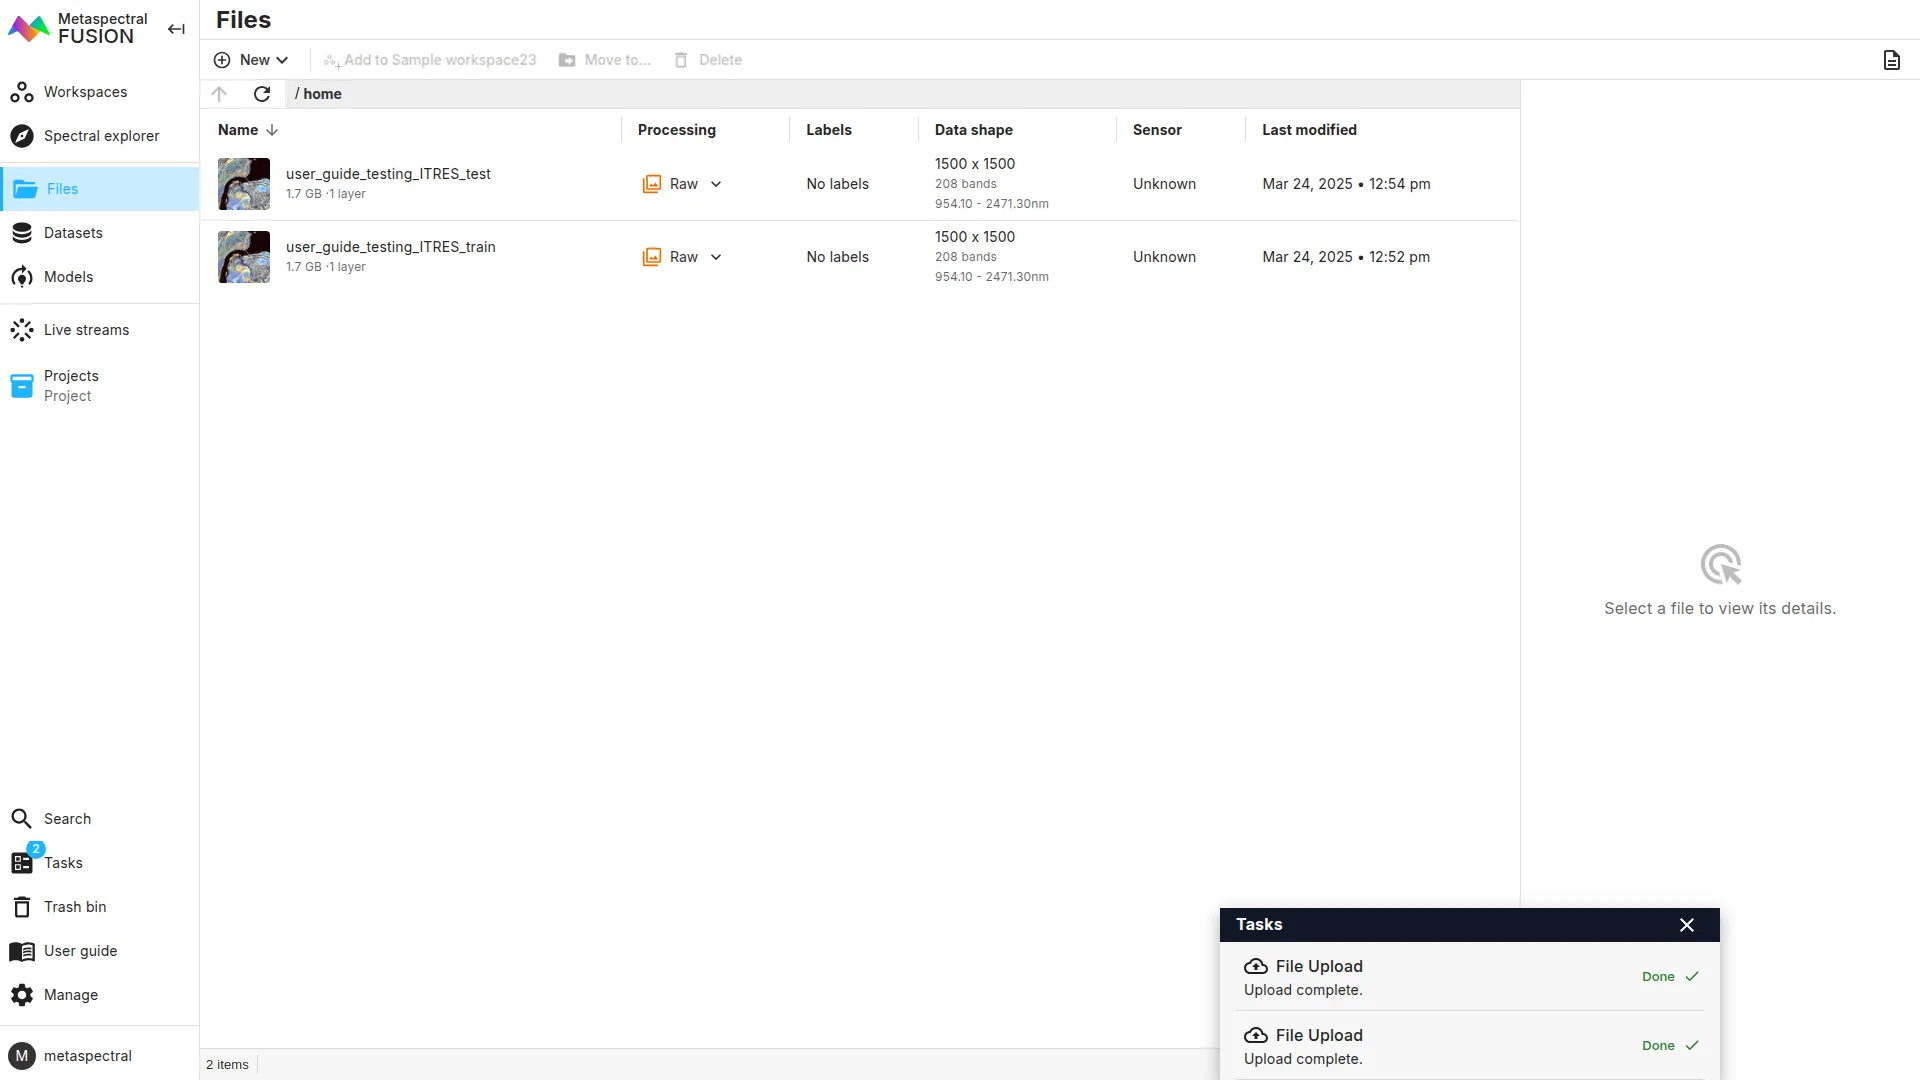
For this demonstration, we are using 1m resolution aerial capture imagery provided by ITRES.
What should I upload?
In most cases, upload the folder or file bundle exactly as you downloaded it from the provider. Clarity will decide which files are required for import and which files are sidecars, previews, or other supporting files.
If the provider gives you a folder, drag the folder into the upload dialog. If your browser or operating system does not let you select the folder directly, select the image files and sidecar files inside the folder instead.
Do not remove any files unless you are sure they are unrelated. Some formats need accompanying metadata files, while others already contain the required metadata inside the image file.
Supported file groups
ENVI
Upload the ENVI header and image file together.
- The header usually ends in
.hdr. - The image file may have no extension, or may end in
.dat,.raw,.img,.bin, or another ENVI data extension. - The header and image file usually share the same base name.
If either the header or image file is missing, Clarity cannot create the import.
GeoTIFF
Upload the GeoTIFF file and any metadata files that came with it.
- The image usually ends in
.tif,.tiff, or.geotiff. - Some providers include
.xmlor.jsonmetadata that improves metadata extraction. - Some provider bundles include preview images, footprints, or classification files. Clarity may mark those as not needed for the primary hyperspectral import.
Tanager HE5/H5
Upload the Tanager .he5 or .h5 file. If Planet also provides a metadata
JSON file, you can include it with the upload. Clarity recognizes the metadata
JSON as part of the same Tanager bundle, but the HE5/H5 file already contains
the metadata needed for import, so the JSON is not uploaded.
Shapefiles
Upload the shapefile components together.
- Required files typically include
.shp,.shx, and.dbf. - Include
.prjwhen available so Clarity can read the coordinate reference system.
Understanding messages in the upload dialog
The upload dialog shows what Clarity plans to import before anything is uploaded.
- Files grouped under an import node are recognized.
- Files marked
Not uploadedare associated with the import, but are not needed for the upload. - Files shown with an unsupported message are not matched to a supported import format. They will not be uploaded unless you manually assign them to an import.
- If the
Uploadbutton is disabled, at least one selected import is incomplete or unsupported.
Manual import assignment
Most uploads should not need manual assignment. Use manual assignment when Clarity recognizes the files but groups them incorrectly, or when you need to repair an incomplete import by assigning a file to a required slot.
For example, an ENVI import may need the header assigned to the header slot and the binary image assigned to the data slot.
If you are unsure, upload the downloaded folder or bundle first and review the messages in the import tree.